
Last updated: August 6, 2026
Quick Answer
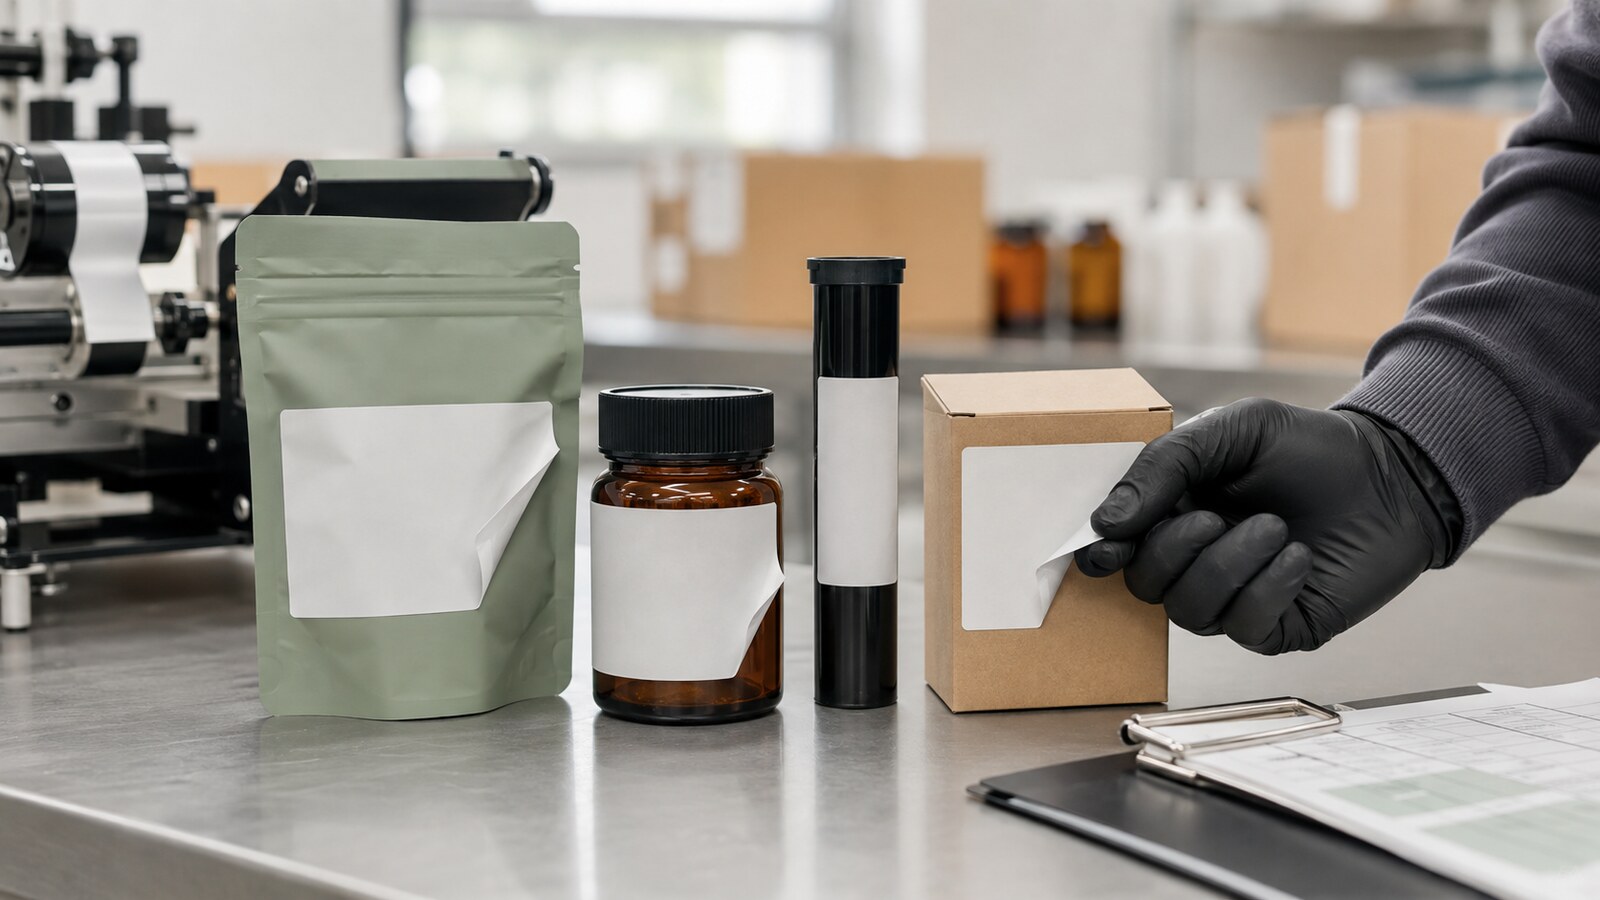
Cannabis packaging labels peeling usually point to a mismatch among the adhesive, package surface, application conditions, and package shape—not simply a “weak sticker.” First identify where the failure starts: corners, a curved edge, a pouch seam, or the entire label. Then verify the substrate and coating, clean and dry the application area, condition packages and labels to the converter’s specified temperature, apply uniform pressure, and allow the recommended dwell time before filling or shipping. Test production-intent labels on actual jars, tubes, pouches, or cartons for at least 24 hours and through expected heat, cold, moisture, flexing, and handling conditions before approving a run.
A label that looks fine at the applicator can lift hours later in a shipping case or curl after a pouch is filled. That delayed failure is why simply pressing the corner down—or ordering a more aggressive adhesive without diagnosing the cause—often wastes another roll of labels.
This guide gives packaging teams a practical way to separate surface, adhesive, design, application, and storage problems. It also explains what to test before the label carries regulated warnings, batch data, a barcode, or a QR code into retail.
Cannabis Packaging Labels Peeling: Start With the Failure Pattern
The location and timing of a lift are evidence. Record the first visible failure before anyone smooths the label back down.
- One corner lifts immediately: suspect insufficient pressure, a corner positioned over a curve, die-cut release problems, or contamination at that spot.
- Both ends lift from a small tube: the label may be too stiff for the diameter, too long around the circumference, or experiencing “memory” that pulls it flat again.
- The center bridges over a pouch seam: the label cannot conform to the height change, or the filled pouch flexes after application.
- The whole label slides or releases: inspect oil, silicone, mold-release residue, condensation, dust, surface energy, and adhesive selection.
- Failure appears after a hot truck or cold room: application temperature and service temperature may have been confused.
- Only printed labels curl: ink, varnish, lamination, heavy coverage, or facestock moisture balance may have changed label stiffness.
Record four facts: package lot, label lot, time after application, and exact failure location. A photo that includes the seam, curve, or coating is more useful to a supplier than the statement “the labels do not stick.”
Why Pressure-Sensitive Labels Peel
A pressure-sensitive adhesive needs close contact with the package surface. Avery Dennison’s technical explanation describes this as adhesive “wet-out”: the adhesive flows into microscopic surface features so attractive forces can develop. A low-surface-energy plastic can resist that wet-out in the same way a waxed surface makes water bead. See Avery Dennison’s pressure-sensitive material guidance.
Four variables control the result:
- Substrate: glass, PET, HDPE, PP, PE film, kraft paper, coated paperboard, laminate, and varnish present different surfaces.
- Adhesive and facestock: initial tack, ultimate bond, stiffness, thickness, and conformability must fit the package and service environment.
- Application: cleanliness, dryness, temperature, alignment, pressure, line speed, and dwell time affect contact.
- Use conditions: flexing, product oils, condensation, abrasion, cold storage, summer transport, and repeated handling can expose a weak match.
The label’s minimum application temperature is not the same as its service-temperature range. Avery Dennison’s adhesive technology guide advises considering both: a label may survive cold service after bonding but fail if first applied while the label or package is too cold.
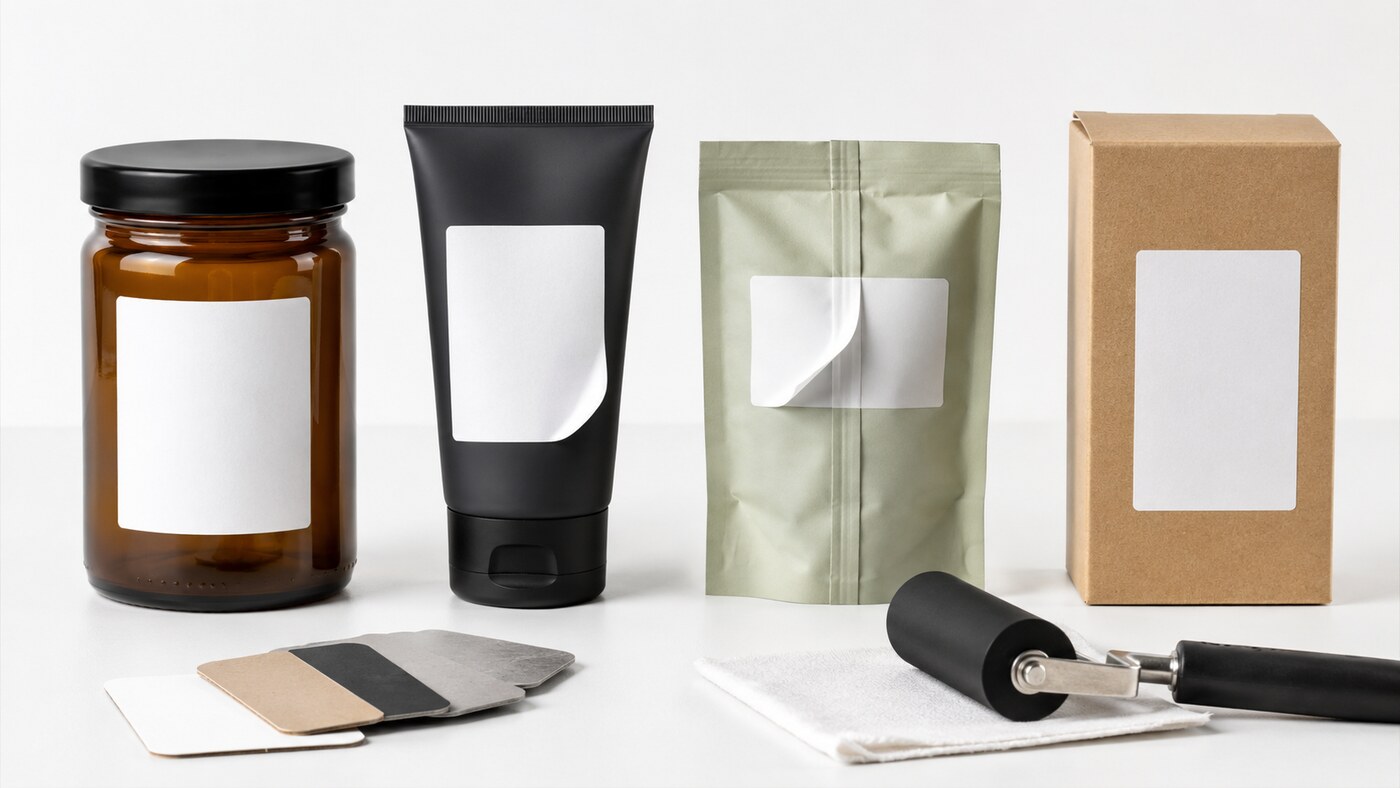
Match the Label to the Surface and Shape
| Package surface | Common failure | What to verify | Production-intent test |
|---|---|---|---|
| Smooth glass jar | Release from oils, dust, or condensation | Cleaning method, dry surface, glass treatment, curved edge clearance | Apply to filled, capped jars; rotate and case-pack after dwell |
| PP or PE tube | End lift and label spring-back | Surface energy, diameter, overlap, facestock stiffness, low-surface-energy adhesive | Store horizontally and vertically; inspect both ends at 1, 24, and 72 hours |
| Flexible pouch | Wrinkles, seam bridging, lift after filling | Film or kraft face, gusset movement, seam position, fill profile, label conformability | Label flat and filled samples; flex and compress them in the shipping orientation |
| Uncoated kraft paper | Fiber tear or incomplete contact on a rough face | Porosity, dust, recycled-fiber variation, adhesive coat weight | Test across multiple packaging lots and compare peel behavior, not just appearance |
| Laminated or varnished carton | Clean release from a slick coating | Exact laminate or coating chemistry and whether a label-free varnish zone is possible | Use final print, coating, cure, score, and folding process—not blank board |
A Six-Step Peel-Failure Diagnosis
- Quarantine samples. Keep failed packages, unused labels from the same roll, and passing controls. Do not clean or reapply them.
- Separate package from process. Hand-apply the same label to a clean package with controlled pressure. Then apply a known-good label to the suspect package.
- Compare lots. Cross-test at least two package lots and two label lots. One failed combination may reveal coating or adhesive variation.
- Map the lift. Mark whether the failure follows a seam, curve, score, textured area, fill bulge, or operator hand position.
- Recreate the timeline. Record application temperature, package temperature, fill timing, capping, case packing, cold-room entry, and shipment exposure.
- Change one variable. Evaluate cleaning, label size, corner radius, adhesive, facestock, pressure, or dwell separately so the result identifies a cause.
Decision rule: If the label sticks to a clean glass control but not the production package, investigate the package surface or coating. If multiple labels fail only at the same curved edge, investigate geometry and facestock stiffness. If every package passes by hand but fails on line, focus on pressure, alignment, speed, temperature, and contamination introduced by the process.
A 24-Hour Label Validation Protocol
This protocol is a practical screening method, not a substitute for the label converter’s test plan or regulatory review.
- Collect at least ten production-intent packages across more than one packaging lot.
- Use final labels with the real facestock, adhesive, inks, varnish, laminate, die cut, and corner radius.
- Condition packages and labels to the application range specified by the label supplier.
- Clean only with a method approved for the package material and product operation; allow the surface to dry fully.
- Apply labels using production pressure, speed, alignment, and equipment settings.
- Inspect immediately for bubbles, wrinkles, edge clearance, seam bridging, and readable required information.
- Reinspect at one hour and 24 hours without pressing lifted areas back down.
- Expose separate samples to expected cold, heat, humidity, abrasion, pouch flexing, and case-pack compression, then inspect again.
Define acceptance before testing. A useful record includes maximum allowed edge lift, wrinkle limits, barcode readability, whether required text remains unobstructed, and photographs from a fixed angle. California’s regulations revised January 1, 2026 also state that a retailer-added barcode or similar sticker may not obscure required label information; review the applicable rules for your market in the current DCC regulations.
Recommended Packaging Formats to Test
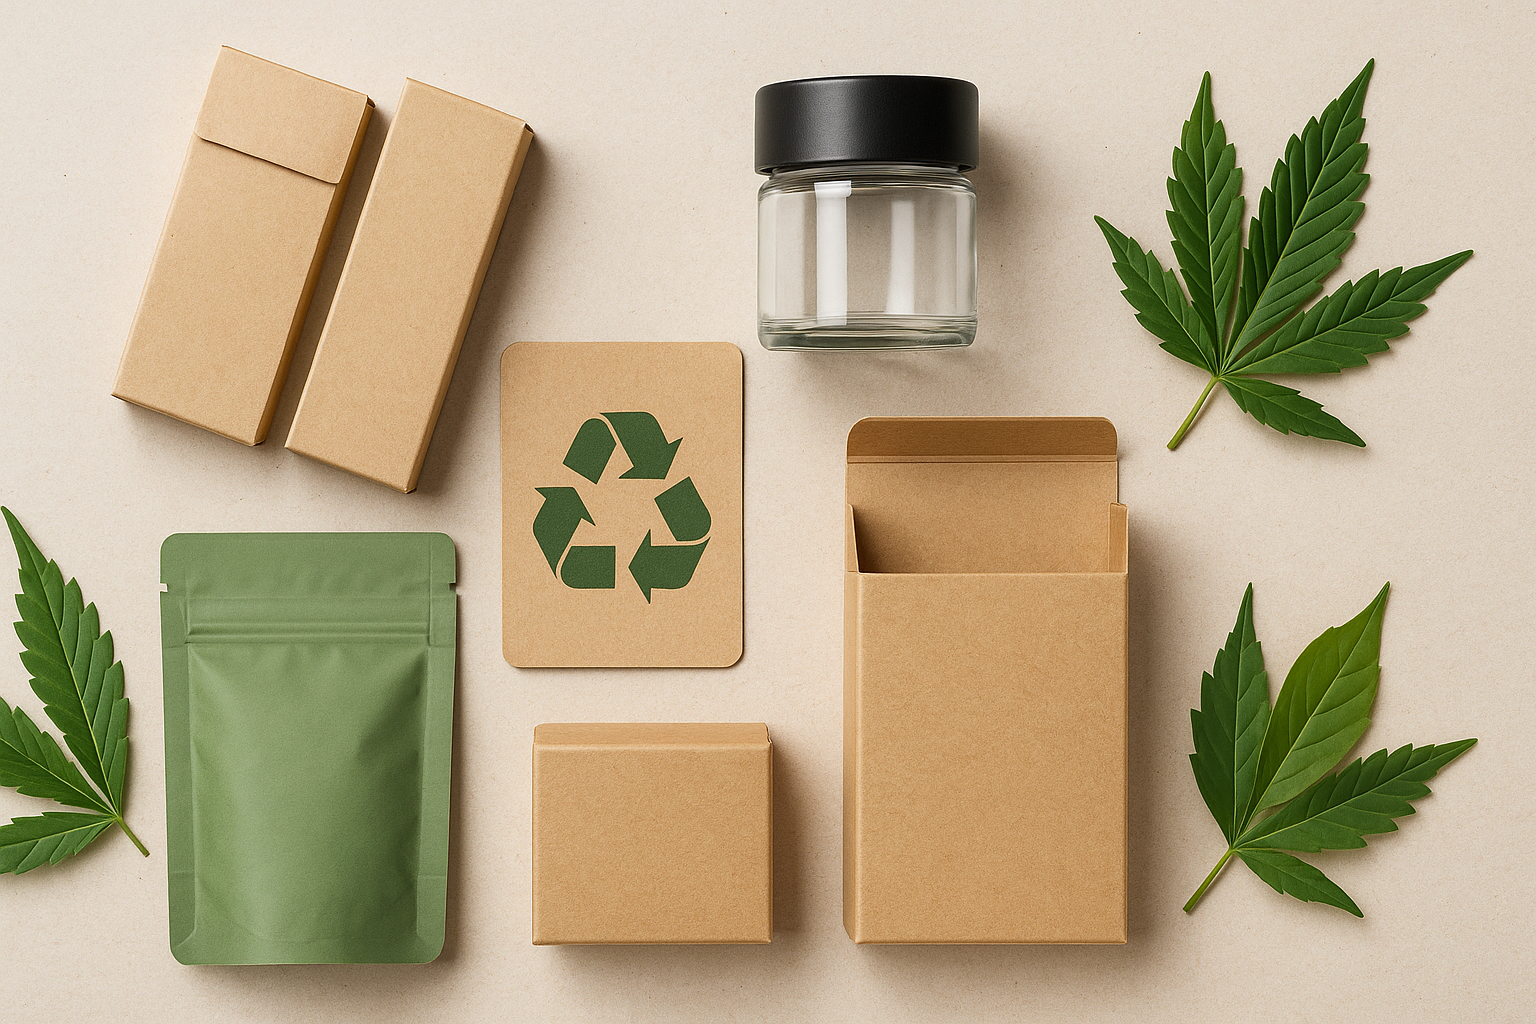
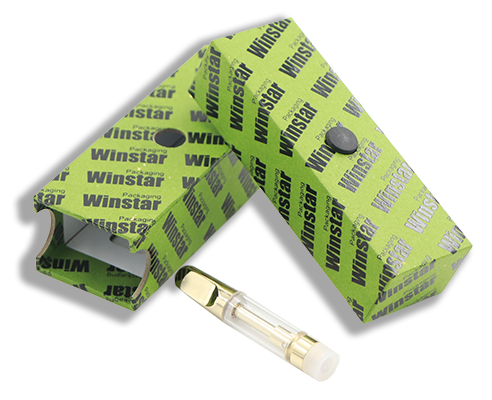
These current 420-Packaging.com products illustrate three very different label surfaces. They are useful candidates for production-intent trials, not evidence that one adhesive will work across every finish or that a labeled package automatically satisfies a state rule.

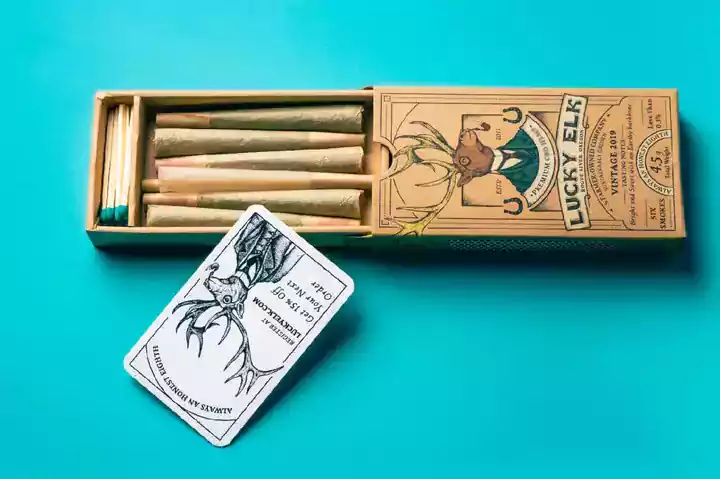
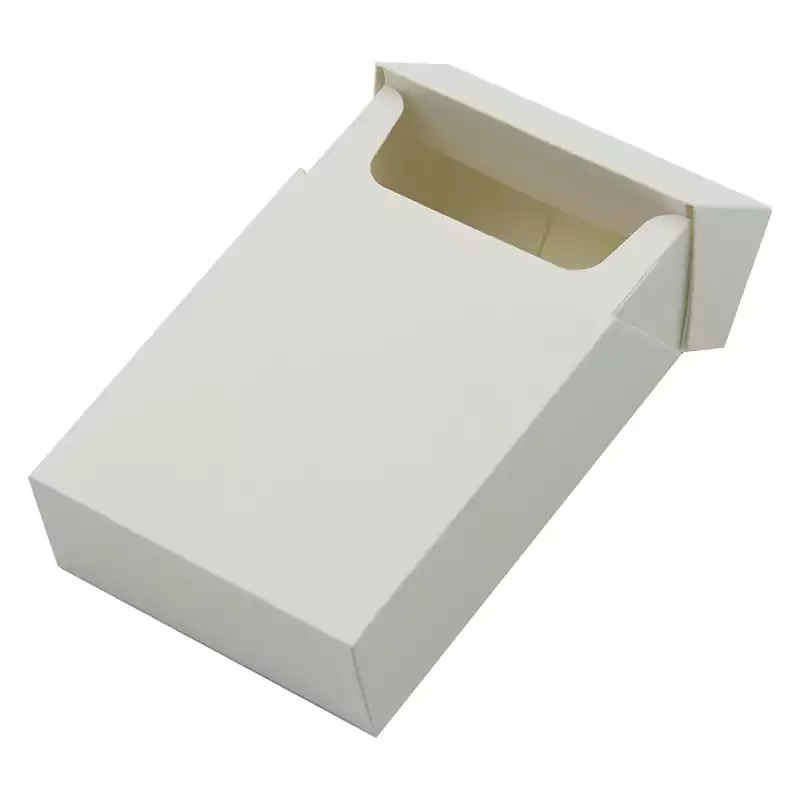
Blank Pre-roll Cigarette Boxes
The product page lists custom sizes and shapes, 12pt to 16pt C1S stocks plus kraft and corrugated options, gloss or matte lamination, Spot UV and foiling, and an MOQ of 1,000. Standard turnaround is listed as 10–12 business days, with 4–6 business-day rush service available.
Adhesion checkpoint: specify the exact board and finish in the label trial. A label that bonds to bare C1S board may behave differently on gloss laminate, matte laminate, Spot UV, or foil. Ask whether a stable, uncoated label zone can be reserved.
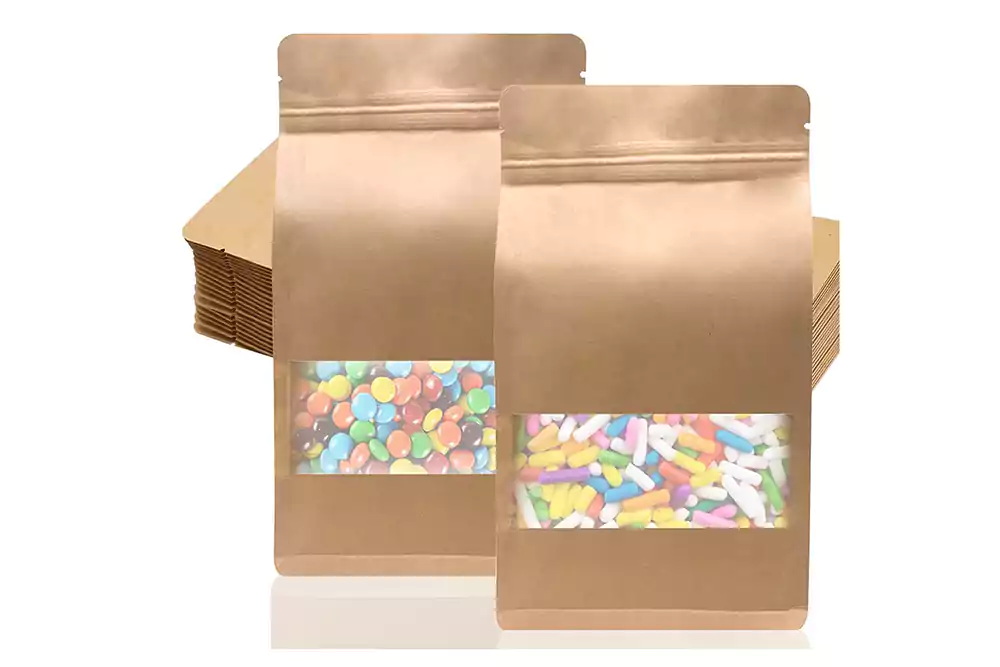
Kraft Stand Up Pouch Bags for Dispensary
The page describes a kraft-paper pouch with a PE inner membrane, reusable zipper, matte window, and space above the window for a sticker or label. Its specification lists a 7 × 11 + 3.2-inch format, paper material, brown color, and a 50-piece pack.
Adhesion checkpoint: apply the final label to the intended kraft area, away from the zipper, window edge, side seal, and moving gusset. Test both flat and filled pouches because the surface geometry changes after filling.
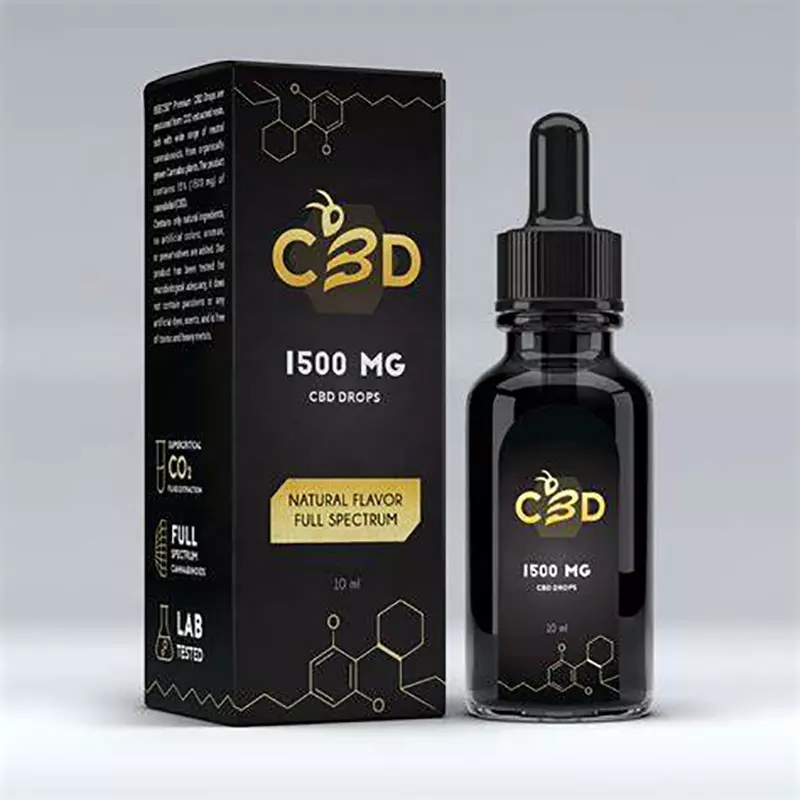
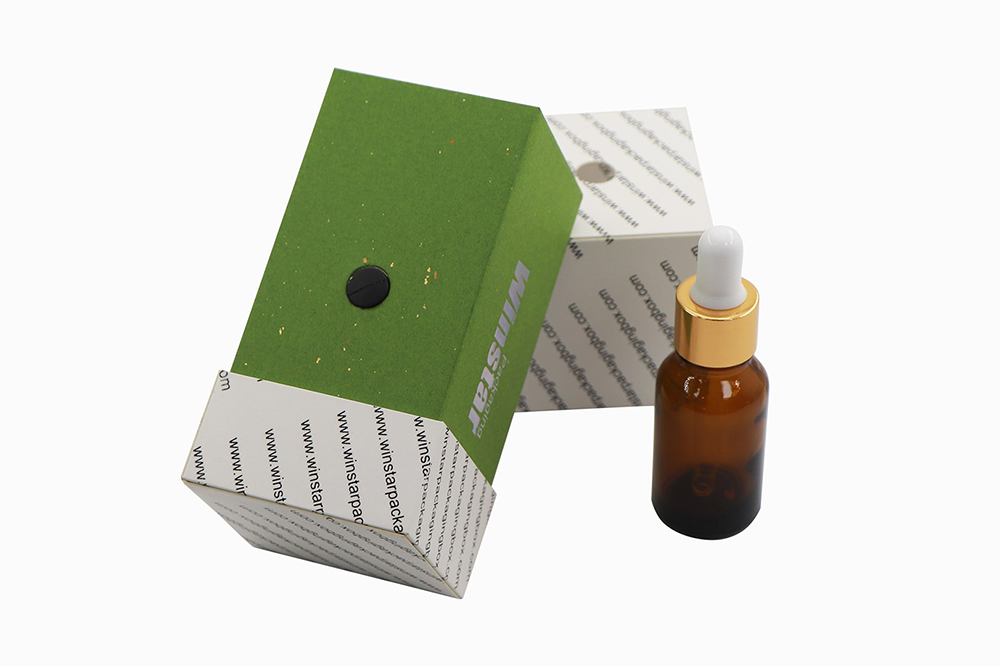
Custom CBD Oil Bottle Packaging Box with Label
This tincture-packaging page lists PET and paper material options, offset printing, glossy or holographic finishing, a 30 × 60 mm or customized size, a 1,000-piece MOQ, 1–3 day sample time, and 7–10 day production lead time.
Adhesion checkpoint: the stated finish options create different application surfaces. Approve the label only on the exact PET or paper construction and final glossy or holographic finish included in the purchase specification.
For additional structures, compare the site’s Pre-Roll Packaging and Tincture Packaging categories, then request samples made with the intended finish.
A Repeatable Label Application SOP
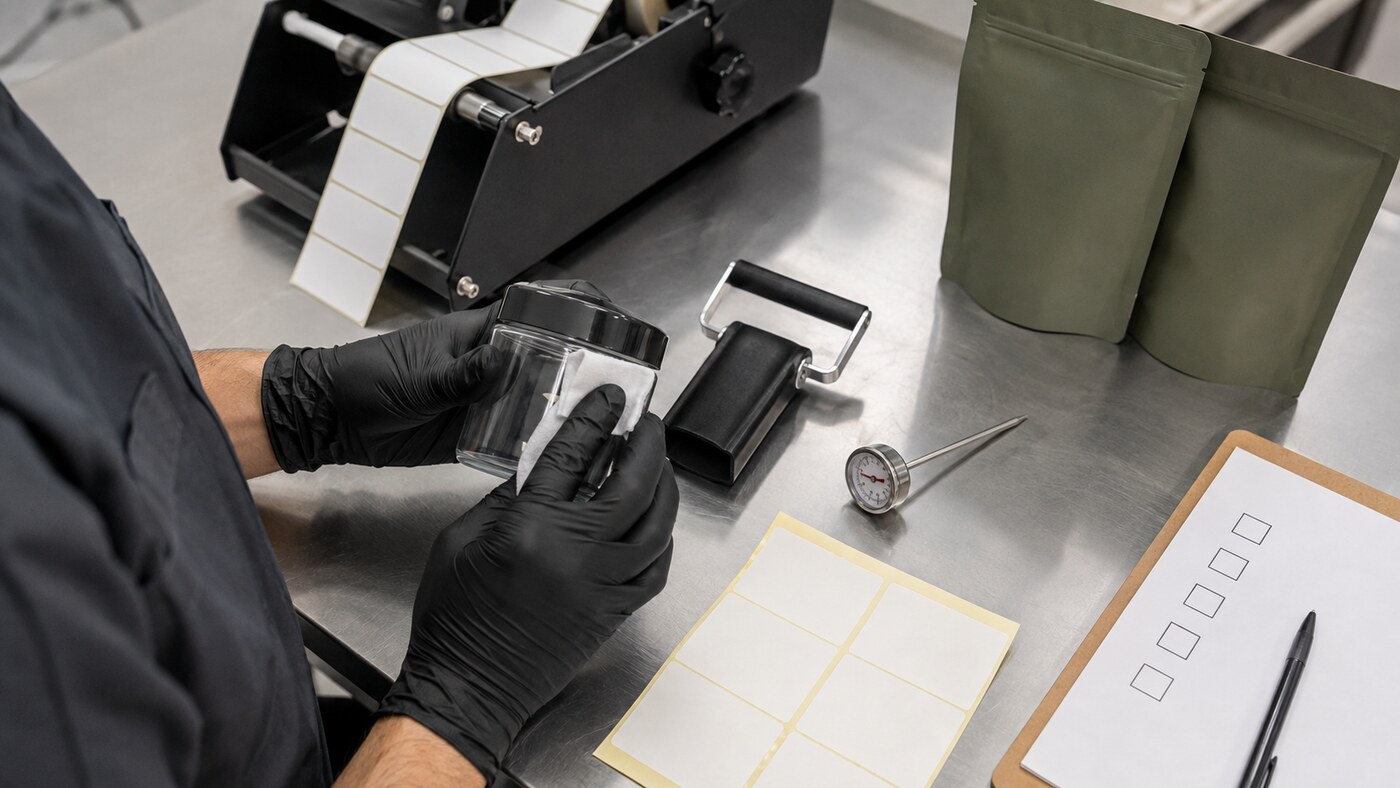
- Verify identity: match package SKU, label SKU, revision, lot, and destination market.
- Check conditions: record room, package, and label temperatures when temperature sensitivity is possible.
- Inspect the surface: reject dust, condensation, oil, scuffs, coating defects, and deformed packages.
- Prepare consistently: use only the approved cleaner and lint-free material, then allow full drying.
- Control position: use a guide so the label avoids seams, sharp curves, gussets, scores, and closure movement.
- Apply uniform pressure: use the qualified roller, wipe, or applicator setting across the entire label, including corners.
- Protect dwell: avoid immediate flexing, filling, capping, refrigeration, or case compression unless the validated process permits it.
- Release by sample: inspect first-off units and scheduled samples during the run; quarantine the interval after a failure.
Questions for Packaging and Label Suppliers
- What is the exact package substrate, surface treatment, laminate, varnish, or coating at the label location?
- Can the supplier reserve an uncoated label zone, and how will that zone be controlled between lots?
- What are the label’s minimum application temperature and service-temperature range?
- Is the adhesive recommended for this specific plastic, paper, glass, kraft, or coated surface?
- What pressure and dwell time does the label converter specify before handling or environmental exposure?
- What label facestock and corner radius are recommended for this container diameter or pouch flex?
- Could ink, varnish, lamination, or heavy coverage change label stiffness or curl?
- Which package and label changes require a new adhesion trial?
- Can both suppliers provide retained samples and lot traceability if field failures appear?
Common Label-Adhesion Mistakes
- Testing on a different surface: a blank carton is not equivalent to the final laminated, varnished, or foil-decorated carton.
- Applying before a pouch is filled: the fill profile can stretch the face and move a seam beneath the label.
- Using a large label on a small diameter: stiff facestock produces continuous peel stress at both ends.
- Confusing cold service with cold application: a cold-rated label may still require warmer conditions when first applied.
- Judging immediately: some failure modes appear only after dwell, case compression, abrasion, or temperature cycling.
- Fixing the symptom with more adhesive: aggressive adhesive cannot reliably overcome oil, condensation, a moving gusset, or an unsuitable coating.
- Covering required information: inventory stickers and corrective labels must not obscure warnings, batch information, or other required content.
Frequently Asked Questions
Why are my cannabis packaging labels peeling at the corners?
Corner lift often comes from inadequate application pressure, contamination, a corner placed over a curve, a stiff facestock, or a small corner radius that concentrates peel force.
Will a stronger adhesive always stop label peeling?
No. It may help a verified surface mismatch, but it cannot correct condensation, oil, seam bridging, package flex, incorrect temperature, or poor application pressure.
Why do labels stick to glass but not plastic tubes?
Some plastics have lower surface energy than glass, and a small tube adds curvature that makes the label want to flatten. The adhesive and facestock must be qualified for both the plastic and diameter.
Should labels be applied before or after filling pouches?
Test both states. Flat application may be easier, but filling can stretch the face, move a gusset, or create pressure behind the label. Use the sequence that passes production-intent validation.
How long should I wait before testing label adhesion?
Follow the converter’s specified dwell time. As a practical screen, inspect immediately, at one hour, and at 24 hours, then continue through the expected service and shipping conditions.
Can labels go over pouch seams?
Avoid it when possible. A seam creates a height change and can move during filling or flexing, preventing uniform adhesive contact.
Does matte lamination improve label adhesion?
Not automatically. “Matte” describes appearance, not one chemistry. Test the exact laminate and adhesive combination or reserve a controlled label zone.
Can cold storage make labels peel?
Yes, especially when labels are applied below their minimum application temperature or encounter condensation. Application and service temperature limits must both be checked.
What should be included in a label adhesion test record?
Record package and label SKUs, revisions and lots, surface finish, application conditions, cleaning method, equipment settings, dwell time, environmental exposures, failure location, and photos.
Does a label that stays attached make the package compliant?
No. Adhesion supports legibility and traceability, but compliance also depends on content, placement, package structure, testing, approvals, manufacturing controls, and current jurisdiction-specific rules.
Test the Surface Before You Scale
Compare packaging structures and request production-intent samples with the intended material, finish, label zone, and application conditions.